

What Is the “Black Death” Problem in Diesel Engines?
Have you ever heard of the Sprinter Black Death problem? or
I hadn’t — and why would I? I used to be someone who traveled mainly by motorcycle. But once I started the campervan life and bought an older vehicle, I ended up learning a lot of things I had never dealt with before.
Actually, the same thing happened with motorcycles too. I once owned a Hyosung GT650 Comet, and thanks to that bike I learned quite a lot about mechanics as well. 🙂
The so-called Black Death refers to a problem related to fuel injectors. Due to various reasons, injectors can start leaking. Over time, carbon deposits build up underneath the plastic engine cover, forming thick layers.
If the issue goes unnoticed for a long time, the area eventually turns into a sticky, tar-like substance. Because of its dark, nasty appearance, mechanics nicknamed it “Black Death.”
It’s unpleasant both to clean and to smell.

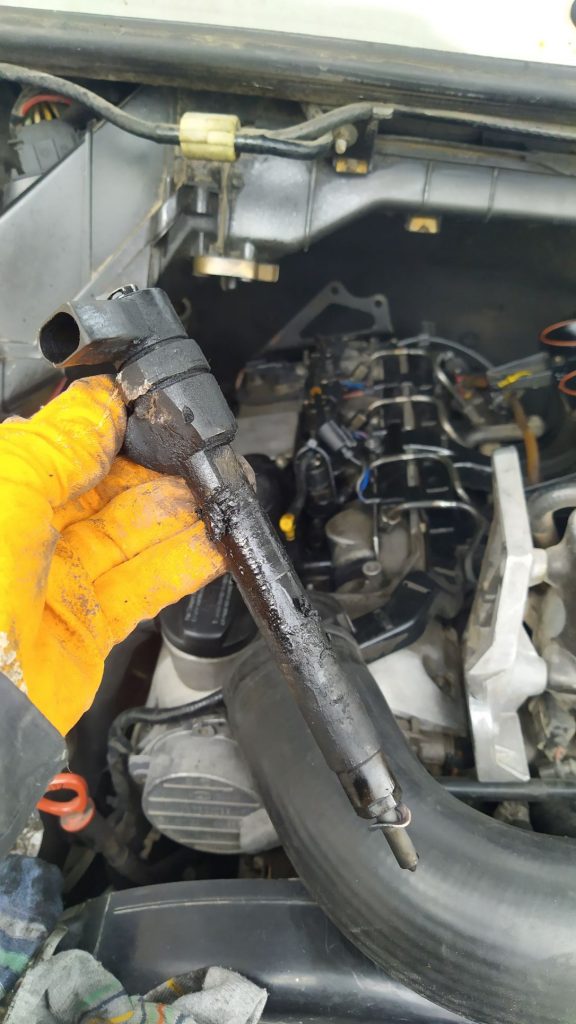
Why Does Black Death Happen?
This issue usually occurs when the injector copper washer fails.
At the same time, exhaust gases start leaking from the injector seat. This leakage produces smoke that travels through the engine bay and eventually enters the cabin through ventilation channels.
After some time, you’ll begin to notice a distinctly unpleasant smell inside the vehicle.
If the weather is cold and the windows are closed, the smell can become especially strong.
Another indicator is a strange sound coming from the engine. It often sounds similar to an exhaust leak, like a small hole in the exhaust pipe.
If you hear this sound and smell something unusual, the first place you should inspect is the injectors.


How to Identify the Faulty Injector
The solution is actually quite simple, but it requires a bit of patience and care.
First, you need to identify the leaking injector.
Remove the plastic engine cover above the injectors and start the engine. In most cases you will quickly notice which injector is producing smoke.
If you’re not completely sure, there’s a simple trick:
Pour a small amount of water around the base of the injectors. If there is a leak, the escaping gases will cause the water to bubble or spray outward, clearly revealing the problematic injector.

Removing the Injector
Once you’ve identified the faulty injector, you can begin removing it.
However, if the injector does not come out easily, do not force it.
Carbon buildup may have essentially glued the injector into place. If you force it, the injector could break in half, leaving part of it stuck inside the engine. That situation can quickly turn into a much bigger repair job.
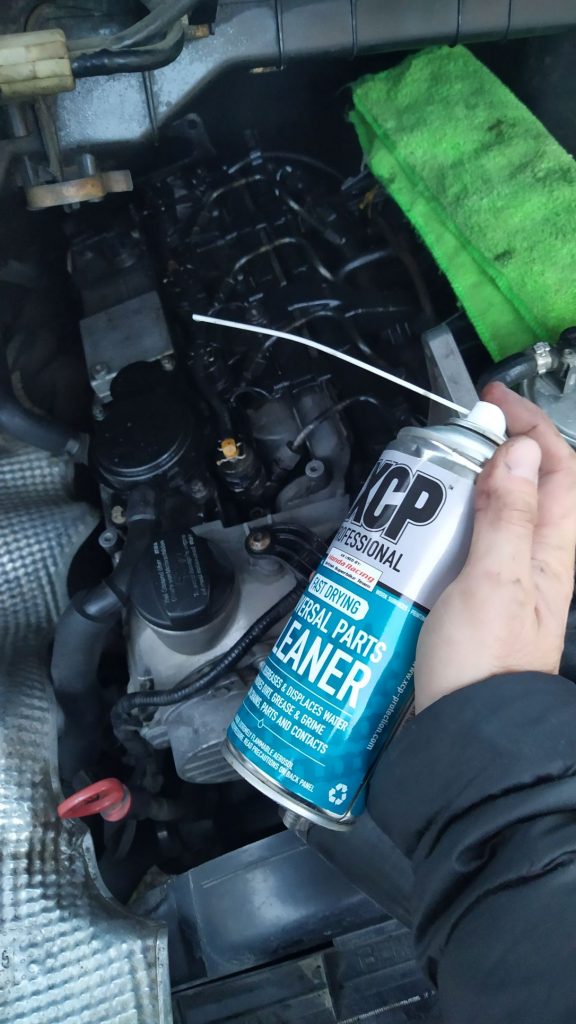
Instead, spray a penetrating oil around the base of the injector.
Personally, I like using XCP products for this, especially XCP One, which works extremely well as a penetrating oil.
Spray the area and wait a full day, then try again.
If it still doesn’t move:
- Apply more penetrating oil
- Reassemble everything securely
- Drive the vehicle normally
You can repeat this process for several days until the injector loosens.
When the Injector Still Won’t Come Out
Sometimes injectors can be extremely stubborn.
Professional mechanics often use specialized injector puller tools for this job. If you have a mechanic friend, you might be able to borrow one.
If you don’t have access to such a tool and still want to solve the problem yourself, avoid forcing the injector.
One unconventional method is to slightly loosen the injector bolt and start the engine. The pressure from the running engine can sometimes push the injector out of its seat.
This method is not ideal, but in difficult cases it can work. When the injector finally pops out, the engine will immediately stall, so don’t worry if that happens.
Cleaning and Reinstalling the Injector
Once the injector is removed, the next step is to clean the surrounding area carefully.
Make sure nothing falls into the injector seat inside the engine.
Clean the injector thoroughly and install a new copper washer, as these washers are specifically designed for each injector.
When reinstalling the injector, you can apply a very small amount of grease to the contact area so the washer stays in place during installation.
After reinstalling the injector:
- Secure it properly
- Reconnect the fuel return lines and lock them in place
- Carefully tighten the fuel supply lines
When tightening the connections, avoid fully tightening one side at once. Instead, tighten gradually from both sides to ensure proper alignment and sealing.