

How to Build a Camper Van – My Sprinter Van Conversion Journey
Contents
- Buying a Van for Conversion
- Preparing the Van for Conversion
- Final Checks Before Starting the Conversion
- Planning the Electrical and Water Systems
- Ventilation Planning
- Insulation
- Flooring
- Interior Cladding (Walls & Ceiling)
- Water System
- Interior Layout of the Camper
- Shower & Toilet
- Legal Paperwork and Registration
- Insurance
How to Build a Camper Van – My Sprinter Van Conversion Journey
After returning from Central Asia, I told myself: that’s enough — I’m going to build a camper van. Back then the cost of doing it was quite reasonable. I won’t tell you how much I bought my Sprinter for, so I don’t upset you. 🙂
Even back then we were complaining about prices, but looking back, those were the good days. 2019 really was one of the last good years.
In this article I won’t focus on numbers. Instead, I’ll talk about the steps of building a camper van and what needs to be done along the way.

One thing I cannot skip saying:
The best camper van is not the one where everything is perfect — the best camper van is the one that is lived in and accompanies your adventures.
So don’t get stuck chasing perfection in tiny details and delay your vanlife. Finish the basic structure, use the most practical solutions possible, and make your camper livable.
When I bought my Sprinter as a minibus, I parked it in my family’s garden and worked on it for seven days. After finishing the basic steps (removing seats, removing rust, insulation and interior cladding), I simply put a mattress on the floor and hit the road.
I’ve been on the road ever since. I’m still completing missing parts along the way. For example, I still don’t have a water tank — two small jerry cans are enough. I didn’t even install my first solar panel, charge controller and inverter until my second year.
At the beginning, I simply relied on the van’s starter battery. 🙂

Buying a Van for Conversion
This is probably one of the most difficult parts of the process.
If you managed to find a vehicle worth converting, consider yourself lucky.
After economic crises, even vehicles that should practically be scrap started selling for crazy prices. Many extremely poor-condition vehicles are still circulating in the market.
Hopefully you found something worth the effort and passed the first stage.


Preparing the Van for Conversion
If you bought a van like I did and want to convert it into a camper, you need to remove the partition separating the front cabin from the cargo area.
If you bought a minibus, remove all the seats and seat rails so the interior becomes completely empty.
You should also remove all interior trims. Basically, anything related to the original interior of the van should come out.


But be gentle while removing them — and try selling the parts you remove. Even if they look old, they still have value.
I bought my first solar panel and charge controller using the money I earned from selling the removed seats. 🙂


Final Checks Before Starting the Conversion
After all, we bought a used vehicle. Expecting brand-new performance is unrealistic.
Once the seats and interior panels are removed, you might encounter some surprises.
The most common issue is rust.
If you see rust anywhere in the body, you must fix it before continuing with the conversion.
The goal is simple: make the interior structure look like a brand-new panel van.
Rust must be cleaned completely. Sand the metal until it shines like a mirror. If there are holes, they must be repaired. Apply anti-rust treatment to sanded areas, and ideally paint over it for extra protection.

Planning the Electrical and Water Systems
Electricity and water are essential for a camper.
For aesthetic reasons, these systems should be hidden behind the interior panels — but not placed somewhere impossible to reach.
If something fails, you should be able to remove a panel and reach the wiring easily. And remember, you might also want to upgrade your system in the future.
Instead of giving theoretical advice, I’ll explain what I did.
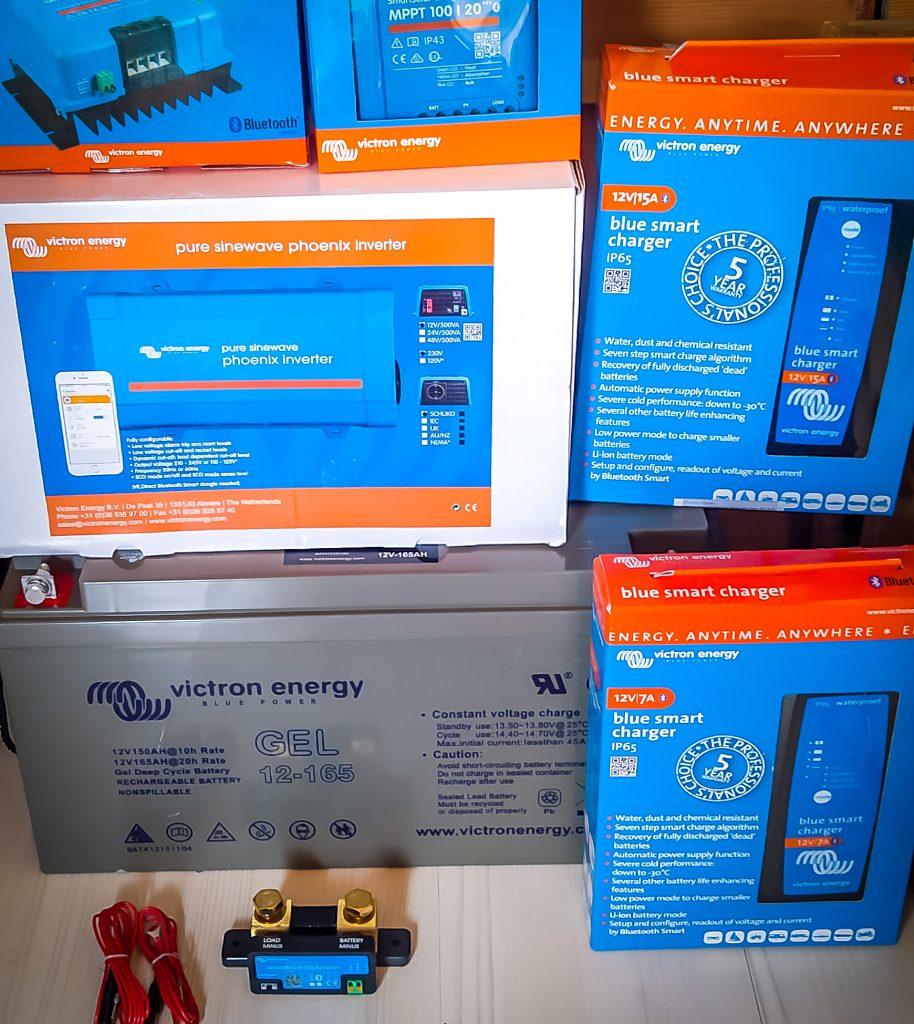
I placed my house battery under the front seat, and the main wiring network spreads from there through the van.
From the house battery I only ran one line to the back of the van for lighting. All other electrical components stay close to the battery.
This allowed me to keep a very simple wiring system.
When people start thinking about complicated setups like “how will 220V work?” or “where will this cable go?”, things quickly become confusing.
Even if you solve it, having a huge spider-web of cables inside the van never made sense to me.
The cables hidden behind interior panels should be as few as possible. This is important both for safety and energy efficiency.

Ventilation Planning
While the van interior is still empty, it’s best to finish ventilation early.
In winter things might be fine, but in summer a van without airflow becomes unbearable.
A proper ventilation system can dramatically improve comfort during hot months.
Wherever the bed will be located, installing a roof vent (heki) or a window is something you will definitely appreciate later.
A camper must be able to draw air from one side and exhaust it from another — just like an engine exhaust system.
Sometimes when there is no wind, roof fans that pull hot air out can make life much easier.
For windows, I recommend using real camper windows that open outward, instead of sliding glass.
And whatever you install — windows, vents or roof openings — seal them properly with strong silicone like Dayson. Poor sealing will eventually lead to water leaks, moisture and rust.


Insulation
When I built my van, my budget was very limited. I even sold my drone to fund the project.
Because of that, I used insulation materials that were not the highest quality.
But insulation technology improves constantly, so choosing a modern and proven material is always a better approach.
Materials like adhesive sound-deadening foam, bubble insulation sheets, and Izoboz felt are commonly used.
Many people install bubble insulation as the final layer before wooden panels, mainly as a moisture barrier. But I think placing it directly on the metal surface also works well.
Especially under strong sun, when the metal body reaches 50–60°C, that bubble layer can significantly reduce heat transfer.
A functional insulation setup might look like this:
- Bubble insulation directly on the metal
- Rock wool to fill large cavities
- Izoboz felt layer
- Another bubble layer as a moisture barrier
- Then wooden interior panels
I cannot say exactly where sound insulation works best, since I haven’t tested every combination.
How to Prepare Your Campervan for Cold Weather

Flooring
Since I had leftover laminate flooring available, I used laminate for the floor to avoid extra cost.
If I were building a camper today, laminate would be the last material I’d choose.
It’s not flexible enough, and over time it can crack or break — though the quality of the laminate also matters.
But the bigger issue is this: laminate becomes extremely cold in winter.
If I had the budget, I would definitely choose teak wood flooring instead.
Interior Cladding (Walls & Ceiling)
Large MDF or particleboard panels feel too cold and artificial to me inside a camper.
I never understood why people want their vans to look like a kitchen cabinet showroom.
Natural wood creates a much warmer atmosphere.
That’s why wooden tongue-and-groove panels (lambris) became the main material for my interior cladding.
They are long, flexible and interlock with each other, making them surprisingly durable. I say this after driving thousands of kilometers over rough roads for four years.
Unlike large plywood sheets, lambris can flex slightly without breaking.
If large rigid panels crack, replacing them becomes difficult.
If I were building another van today, I would absolutely use lambris again.

Water System
Water systems can look intimidating — but they really don’t have to be.
You can solve everything with two 20-liter containers and a rechargeable water pump.
Let me explain the system I’ve been using for four years.
I have two containers under my kitchen counter:
- one for clean water
- one for grey water
When clean water runs out, I refill it. When the grey water container fills up, I empty it.
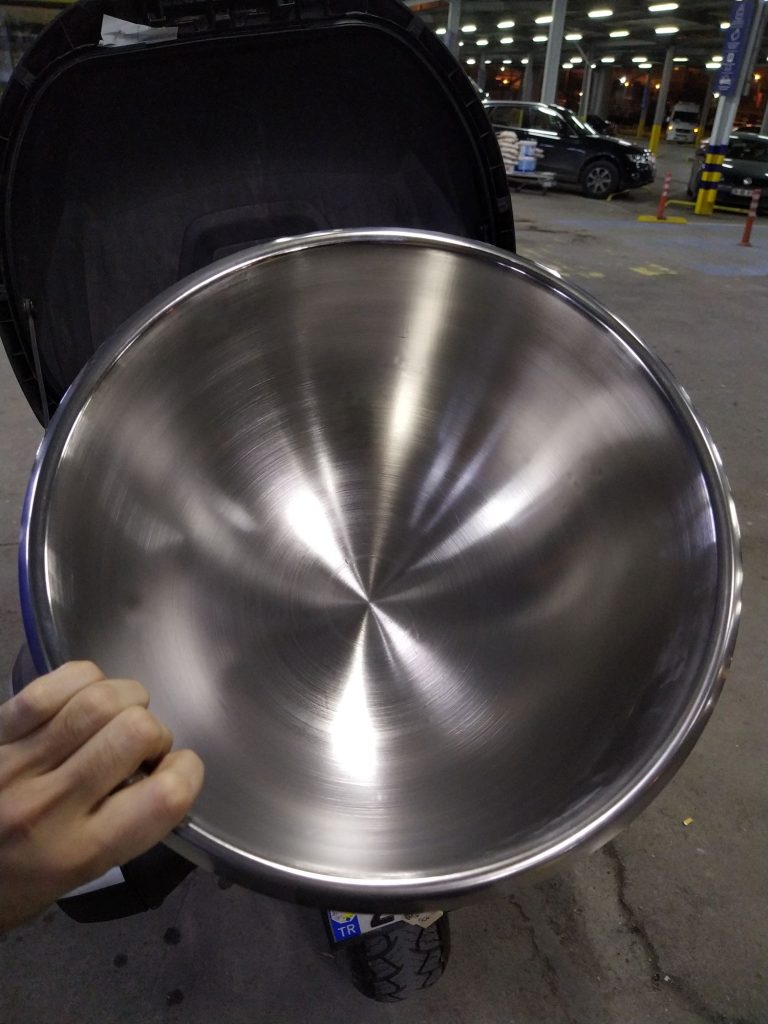
My kitchen counter measures 150 × 70 cm. For the sink, I used a simple mixing bowl, drilled the center, and connected a drain pipe leading to the grey water container.
For the faucet, I installed a small filtered-water tap and connected it to the rechargeable pump placed inside the clean water container.
When I press the switch, the pump pulls water and sends it to the faucet.
It’s simple, cheap and efficient.
And yes — I hear people talking about 150-liter water tanks that need refilling every two days. I personally cannot accept that kind of waste.
Water is not about money. Natural resources belong equally to everyone.
Twenty liters of water can easily last 4–5 days. And you can take a proper shower using 4–5 liters if you are careful.

Interior Layout of the Camper
This is probably the most enjoyable stage.
Once the interior is finished, it suddenly feels much bigger — almost like you’re not inside a vehicle anymore.
You can design the layout however you like:
- kitchen behind the driver seat
- convertible bed / sofa
- dining area near windows
- fridge under the bed
- water tank inside or outside
This part depends entirely on your creativity.
Just go with the most logical design you can think of. If you don’t like it later, you can always modify it.
But one thing I’ll say: having a permanent bed is much better than a bed that needs to be assembled every night.
And if you live in your van long-term, occasional layout changes can add excitement to van life.
Shower & Toilet
Interestingly, many people in our country are obsessed with having a toilet and shower inside their camper.
In four years of vanlife, I never needed one.
Instead of carrying chemical toilet tanks that smell terrible, I recommend using natural methods when camping in nature.
If that’s not possible, you can always use a portable toilet, but please think twice before using chemical liquids.
For showers, summer is easy — just extend a hose and shower outside.
For winter, you can install a simple portable indoor shower near the entrance, with the drain leading to the door step.
Problem solved.
Legal Paperwork and Registration (for Türkiye)
Once everything is ready, it’s time for paperwork.
You need to have a camper conversion project drawn by an authorized engineer.
They will prepare the documents and schedule your inspection with the TSE certification authority.
After approval, you must take the vehicle to TÜVTÜRK for a technical inspection.
If everything is approved, you go to the notary and receive a new registration stating the vehicle is now a motor caravan.
Insurance
Some insurance companies offer very good discounts for camper vans.
In fact, when I converted my minibus into a motorhome, my insurance cost actually decreased.
Normal insurance prices can reach 10–15 thousand TL (for Türkiye), so comparing companies is definitely worth it.
Enjoying the Camper Life
Now you can finally enjoy your camper van.
But remember — popular locations can be crowded during high season.
Uncontrolled camper tourism has unfortunately created problems in many areas, sometimes resembling a kind of informal settlement culture.
Because of this, finding peaceful spots requires a bit more exploration.
But once you discover those quiet places, the real freedom of vanlife begins.